How to Choose the Right Print Size for Every Wall in Your Home
The artwork looks perfect on your phone. Then you picture it above the sofa and wonder: will a 12 × 16 inch print disappear on that wall? Will a 40 × 60 inch piece overwhelm the room?
Choosing a print size is easier when you start with the space the finished frame will occupy, then check whether the artwork file can print at that size. A tape measure, a paper template, and a few minutes standing where you actually view the wall will tell you more than a size chart alone.

In this guide
1. Measure the area the art needs to hold
Measure the usable wall width and height, then note what interrupts it: a window, sconce, lamp, doorway, thermostat, or the back of a dining chair. The dimensions of the whole wall are often less useful than the clear rectangle where artwork can actually live.
Next, measure the furniture beneath the planned artwork. A print over a 78 inch sofa has a different visual job from a print over a 36 inch console, even if the walls are equally wide. Decide whether the piece should anchor that furniture or stand alone on the wall.
Write down three numbers before shopping: the available width, the available height, and the width of the furniture below. Measure in inches if the print shop and frame listings use inches. Include the frame's outer dimensions in the final layout. A 16 × 20 inch print inside a mat and frame occupies more wall than 16 × 20 inches.
If you are unsure, cut paper to the outside size of the finished frame, not merely the image. Tape it where the artwork would hang. IKEA's picture-hanging guide uses paper templates to preview an arrangement before making holes, and Crate & Barrel's display guide suggests a full-size paper cutout to judge scale. The test is wonderfully low-tech because your room, not a mockup, gets the final vote.

2. Choose a size above a sofa or bed
Art above furniture usually reads as part of that furniture's composition. Start with a total framed width that feels substantial while leaving breathing room at both ends. Designers often begin with roughly two-thirds to three-quarters of the furniture width, but treat that as a starting sketch, not a law. A narrow frame, generous mat, strong dark image, or pair of lamps can change the balance.
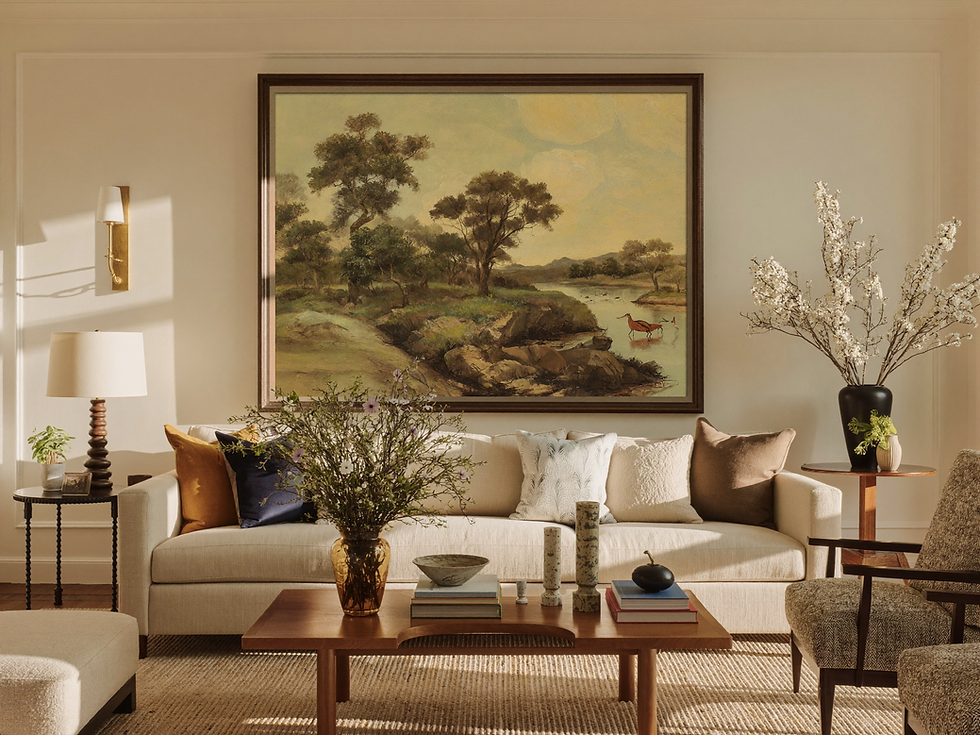
For a 78 inch sofa, a 48 inch wide finished frame covers about 62% of the sofa's width. A 60 inch arrangement covers about 77%. Tape both outlines on the wall. The smaller option may suit a room with tall plants or shelves nearby; the wider option can give an otherwise bare wall a clear focal point. For a deeper look at that choice, see Havenest's guide to large horizontal art above a sofa.
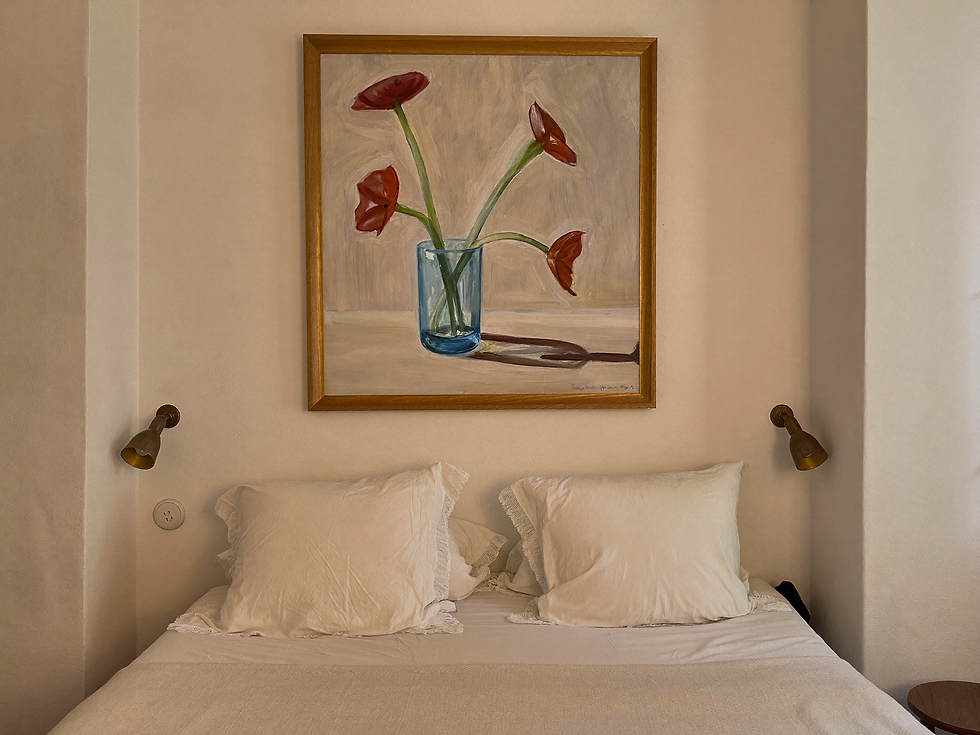
Above a bed, measure the headboard rather than assuming the mattress width defines the scene. A wide headboard, tall ceiling, or pendant lights may change the space available. Center the artwork on the bed or headboard as it appears from the doorway, then check it from the pillows: it should feel comfortably placed, not looming overhead. Hang it securely with hardware suited to the wall and frame.
Vertical placement matters as much as width. Crate & Barrel's wall decor advice offers 3–8 inches between art and furniture as a useful starting range. Test that gap in your own room: tall sofa backs, headboards, and lamps can call for an adjustment. Leave enough clearance that the frame never gets bumped in normal use.

3. Scale art for smaller spaces
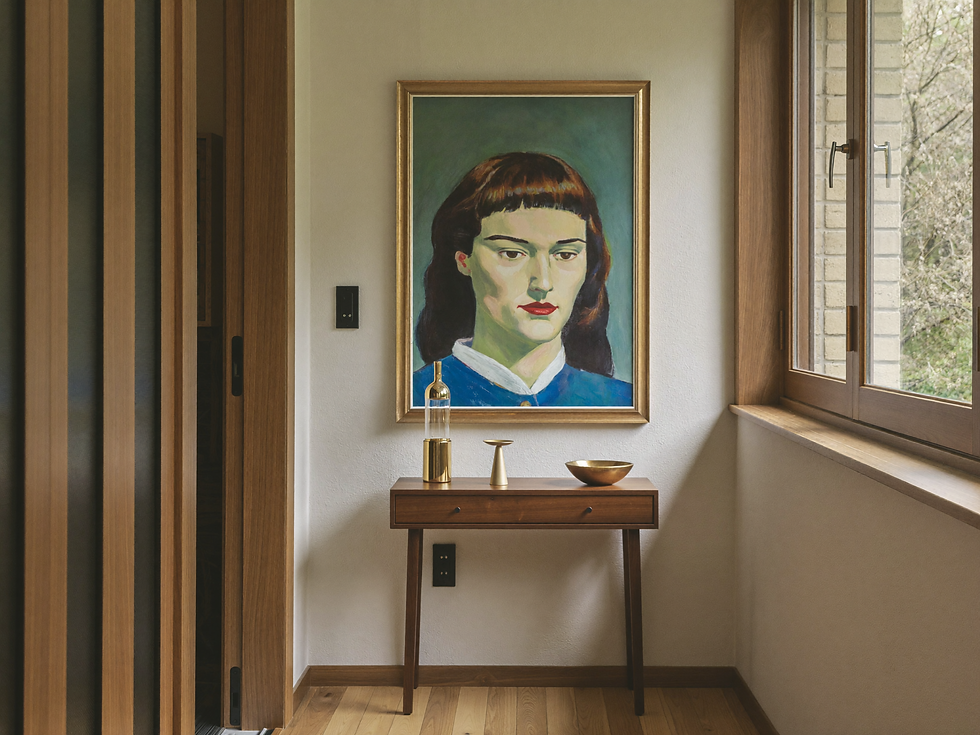
An entryway does not automatically need a small print. A single 18 × 24 inch piece over a narrow console may look more deliberate than three tiny frames scattered across the same area. What matters is the relationship between the frame, the furniture, and the distance from which you first see it.
For a short hallway, stand at the end where you enter. If the wall is viewed straight on, one portrait may make an elegant destination. If you mostly pass beside it, a restrained row of smaller pieces may let the eye move along the corridor. Check door swings and shoulder clearance before choosing deep frames.
In a reading nook, try a 12 × 16 or 16 × 20 inch print as a physical paper template. These are examples to test, not universal room assignments. A heavily matted 12 × 16 image can occupy the wall like a much larger piece. A highly detailed still life may invite close viewing; a broad landscape may gain presence when printed larger.
For dining spaces, consider what sits on the sideboard: a tall lamp and branches take up visual room even if they never touch the print. Photograph the wall with and without those objects. You may discover that moving a lamp solves the sizing problem more gracefully than buying a different frame.
4. Decide between one print and a group
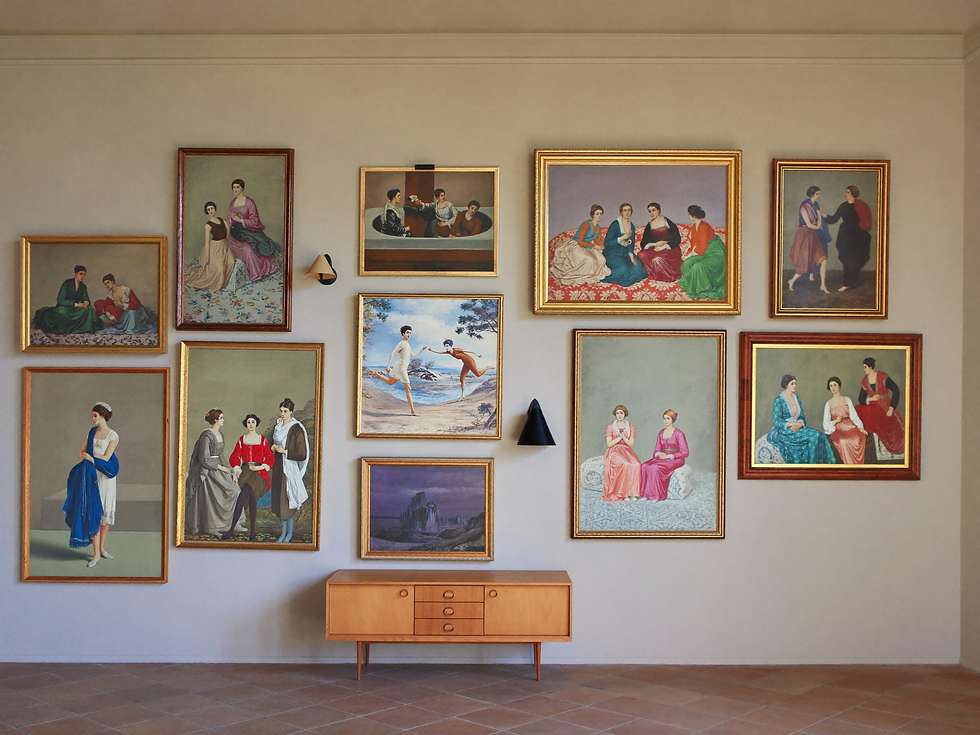
When a wall is wide, a single large print gives the room a clear visual center. A pair or gallery grouping can carry the same total width with more rhythm. Compare the outside width of the whole arrangement, including gaps, against the sofa, bed, or console beneath it.
Suppose you want to fill a 60 inch span. Two 24 inch wide frames with a 4 inch gap make a 52 inch arrangement. Three 16 inch frames with 3 inch gaps make a 54 inch arrangement. The math gives you a starting footprint; paper templates show whether the spacing feels right. Keep the gaps deliberate, and look at the group from the place where people normally enter the room.
The file ratio can help make the decision. A panoramic artwork may feel at home as one long statement above a sofa. A portrait pair may echo tall windows or a vertical headboard. If a favorite artwork is one proportion and the available frame is another, a mat may preserve the whole composition. Havenest's guide to framing printable wall art explains how to plan the print, mat, and frame together.
5. Match the file to the print size
A wall can accommodate a large print while the source file cannot. Before ordering, check the actual file's pixel dimensions and aspect ratio. For the planned print, divide pixels by inches on each side. A 4,800 × 6,000 pixel file printed at 16 × 20 inches has 300 pixels per inch (PPI) in both directions. At 24 × 30 inches, the same file has 200 PPI. The file has not changed; its pixels are spread over more paper. Adobe explains this relationship directly.
8 × 10 in — 2,400 × 3,000 pixels at 300 PPI; 1,600 × 2,000 pixels at 200 PPI.
16 × 20 in — 4,800 × 6,000 pixels at 300 PPI; 3,200 × 4,000 pixels at 200 PPI.
24 × 36 in — 7,200 × 10,800 pixels at 300 PPI; 4,800 × 7,200 pixels at 200 PPI.
40 × 60 in — 12,000 × 18,000 pixels at 300 PPI; 8,000 × 12,000 pixels at 200 PPI.
These are arithmetic targets, not a guarantee of print quality. Source detail, sharpening, paper, printing method, and viewing distance still matter. Adobe notes that 300 PPI is a common high-quality target for close viewing, while larger prints viewed farther away can work at lower densities. Ask the print shop what they recommend for your particular size and material, especially for a statement print.
Make sure the file matches the shape of the print. A 4:5 file fits 16 × 20 inches; a 2:3 file fits 24 × 36 inches. Sending a 4:5 image to fill a 24 × 36 sheet requires cropping, borders, or distortion. Choose the corresponding file from your download, or ask the printer to add a border if you want to keep the whole image. Havenest's digital wall art guide explains the common ratio families.
Do not treat a 300 PPI label in file metadata as proof that a file supports any size. Check pixel dimensions. Changing only the PPI field does not create new image detail; enlarging by software may create pixels, but it cannot recover detail absent from the original. Adobe's image-size documentation is explicit about both points.
6. Preview the composition before ordering
Tape up a paper outline at the proposed outer frame size and live with it for a day. Look from the doorway, the sofa, the dining chair, and any other normal viewing position. Ask two questions: can the image hold the wall, and can the room still breathe around it?
Then put a printout or sketch of the artwork inside the outline. This reveals something plain rectangles cannot: a composition with a broad bright sky may feel lighter than a dark portrait at the same dimensions. A dense still life can have presence even when modestly sized. Leave space for a mat only if you intend to use one, and check whether the printer will add a white border.
If you are considering an expensive large-format print, request a small proof on the intended paper. This lets you inspect color and fine detail before committing to the full size. A proof cannot perfectly simulate the impact of a 40 inch print, but it can expose a weak source image or an unexpected crop.
Finally, keep an untouched copy of the original download. If a printer asks for a crop, work from a duplicate and confirm the crop preview before approving the order. The file, the print, and the frame should agree before any money goes to paper.
7. A quick size guide for common walls
Use this quick guide to start a paper-template test. The furniture and wall measurements are examples, and the suggested sizes describe the framed composition's approximate footprint rather than a required print purchase.
Above a 78 in sofa: One frame around 48–60 in wide, or a group with that total width. Measure sofa width, lamps, usable wall; check file pixels at the chosen print width; frame's outer size.
Above a 60 in headboard: One frame around 36–45 in wide, or a balanced pair. Measure headboard width, ceiling, pendants; check safe hanging clearance and full composition.
Above a 36 in console: One frame around 24–30 in wide. Measure console width, lamp height; check whether mat and frame enlarge the footprint.
Reading nook: 12 × 16 or 16 × 20 in paper outlines. Measure clear wall and chair height; view it while seated; keep breathing room.
Long hallway: One portrait at the end or a measured row. Measure door swings, wall segments, sightline; check walking clearance and consistent gaps.
There is no prize for choosing the largest file your printer can output. The right print size gives the artwork enough presence for the wall while keeping the subject, furniture, and frame in conversation. Measure the room, preview the finished frame, then check the pixels. In that order, the choice becomes much less mysterious.
Ready to put a size on your wall? Start with the paper-template test above, then explore Havenest printable art on Etsy and check the size and ratio information in the individual listing before you order. Havenest artworks are digital downloads; printing and framing are arranged separately.
References: Adobe: Image size, resolution, and resampling · Adobe: Print resolution · IKEA: Hang pictures like a pro · Crate & Barrel: Wall decor ideas
Words by Havenest Studio

Comments