Digital Wall Art Guide: From Download to a Beautifully Finished Room
A blank wall can make a room feel unfinished, but buying art is only half the decision. The other half is practical: Which file should you use? What size will fit your frame? Should you print at home or send it to a lab?
Digital wall art makes those choices more flexible because the artwork arrives as a file rather than a physical print. That convenience is real, but it is not magic: files cannot be enlarged indefinitely, and changing their proportions may crop the composition.
This guide takes you from download to display while avoiding the most common printing mistakes.

Digital wall art gives you control over scale, paper, and framing before it enters the room.
In This Guide
1. What Digital Wall Art Is
Digital wall art is artwork purchased or obtained as a digital file that you arrange to print yourself. Unlike a physical poster or framed print, nothing is shipped to your home. You download the file, choose a printing method, and decide how the finished piece will be framed or displayed.
That makes printable art useful when you already own a frame, need an uncommon size, or want to choose the paper yourself.
The purchase is the file—not an endlessly editable design. Unless the listing says otherwise, do not assume you can recolor it, change its orientation, or enlarge it to any dimension. Its fixed pixel count and aspect ratio determine how accurately it can be printed.
Before buying, confirm that the product is digital, which file types and ratios are included, the recommended print sizes, and what the license allows. A mockup shows a styling possibility, not necessarily the print’s exact scale in your room.
2. What Your Download May Contain
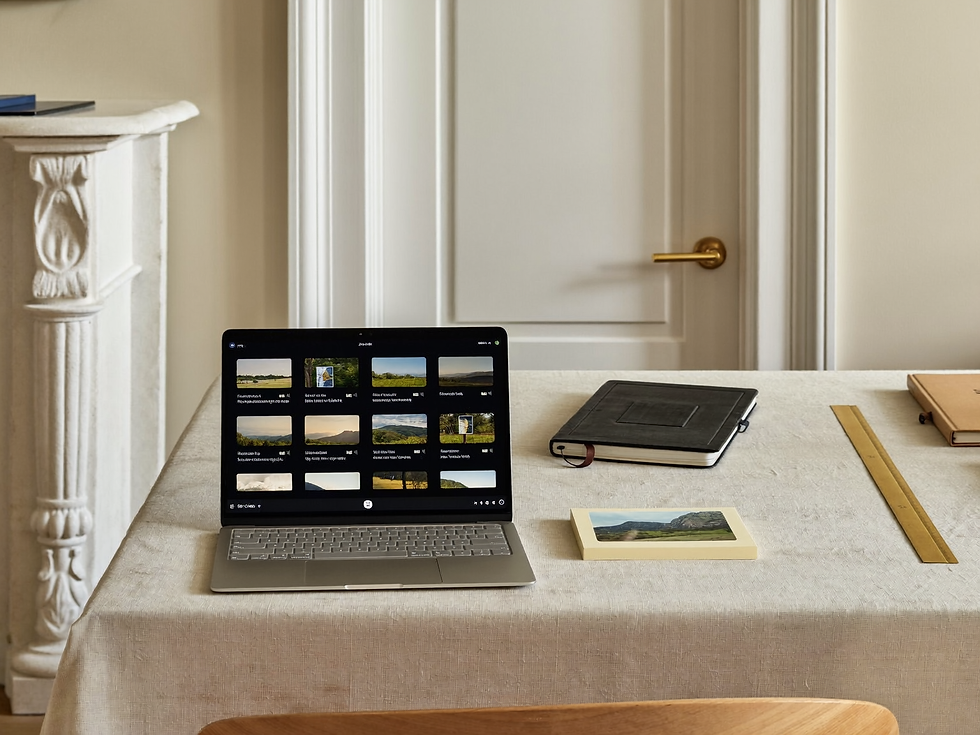
A purchase may contain one image or several files prepared for different proportions. Common formats include JPG and PNG. Some sellers use a PDF for instructions or a download link, and larger packages may arrive as a ZIP folder. Contents vary, so always follow the product description.
After downloading:
Save the original files in a clearly named folder.
Unzip compressed files before sending them to a printer.
Use the original image rather than a screenshot.
Keep an untouched backup if you need to crop a copy later.
Note which filename corresponds to each aspect ratio.
Do not judge sharpness by a browser preview, which may be compressed. Check the original file’s pixel dimensions. If the maximum size is unclear, ask the seller or printer before ordering a large print.
3. How to Choose an Aspect Ratio and Print Size
Aspect ratio describes the relationship between width and height. A 2:3 portrait keeps the same composition at 8 × 12, 12 × 18, or 20 × 30 inches. A 4:5 file fits 8 × 10 or 16 × 20 inches.
Common ratio families include:
2:3: 4 × 6, 8 × 12, 12 × 18, 16 × 24, 20 × 30 inches
3:4: 6 × 8, 9 × 12, 12 × 16, 18 × 24 inches
4:5: 8 × 10, 12 × 15, 16 × 20 inches
5:7: 5 × 7 or 10 × 14 inches
ISO A sizes: A5, A4, A3, and A2
These are ratio examples, not a promise that every download includes every size. Follow the listing.
If the frame and file have different proportions, the image must be cropped, bordered, or distorted. Avoid distortion because it stretches the subject. Preview any crop carefully; a mat is often the cleanest solution when proportions are close but not identical.
Resolution matters too. Many printers use 300 pixels per inch as a target for close viewing. Divide each pixel dimension by 300 to estimate print dimensions at that resolution: a 3600 × 5400-pixel file corresponds to 12 × 18 inches. A lab may accept a lower effective resolution for larger, farther-viewed work, but ask before assuming.
Before choosing a size, mark the corners on the wall with painter’s tape. You will quickly see whether the piece anchors the furniture or floats above it.

Texture and fine detail help determine how a file will feel at a larger print size.
4. Where to Print Digital Wall Art
Choose a printer based on size, budget, timing, and control.
Print at home
Home printing suits smaller artwork and quick tests. Check the printer’s maximum size, borderless capability, and compatible paper weights. Choose the highest-quality setting and the correct paper type. Avoid “fit to page” if it changes the intended dimensions.
Ink, paper, and screen brightness all affect color, so print a small test before using expensive paper.
Use a local print shop
A local shop offers personal advice and paper samples. Supply the original file, state the final dimensions, and ask the technician to preserve the ratio and contact you before cropping. For a matted frame, give them both the paper size and visible opening size.
Order from an online printer
Online labs are practical for larger sizes. Review the crop preview carefully; automatic cropping can remove more than expected. Check resolution warnings, color guidance, production time, and shipping costs before ordering.
When color or scale matters, make a small proof before ordering the final print.

5. How to Choose Paper and Print Finish
Paper affects contrast, color, texture, glare, and how the print sits behind glass.
Matte paper is an easy starting point. It limits reflections and suits softly textured paintings, landscapes, and bright rooms. A lightly textured paper can add depth, but heavy texture may compete with delicate detail.
Satin, luster, and semi-gloss finishes generally produce richer color than matte while reflecting less light than full gloss. They suit graphic work, photography, and saturated images. Full gloss is vivid but shows reflections and fingerprints.
Paper weight, listed in gsm, indicates how substantial a sheet feels, but heavier is not automatically better. Compatibility, coating, surface, and archival quality also matter. Compare the options in Havenest’s guide to the best paper for printable wall art.
If longevity matters, ask the printer about acid-free paper, pigment-based inks, and lightfastness. No print is completely immune to fading, so avoid prolonged direct sunlight even when archival materials are used.

6. How to Frame or Display Your Art
Start with the print dimensions. Mats reduce the visible opening, so measure it and decide whether the image should fill the space or sit within a border.
A mat gives the composition breathing room and lets a smaller print fit a larger frame. Choose neutral white, warm ivory, or a tone already in the artwork. Acrylic glazing is light and less breakable; glass may feel clearer and more substantial. Anti-reflective options help in bright rooms.
A mat or spacer keeps the print from pressing against standard glass. Use acid-free backing and mounting materials for work you want to preserve. The Havenest framing guide explains these choices in more detail.

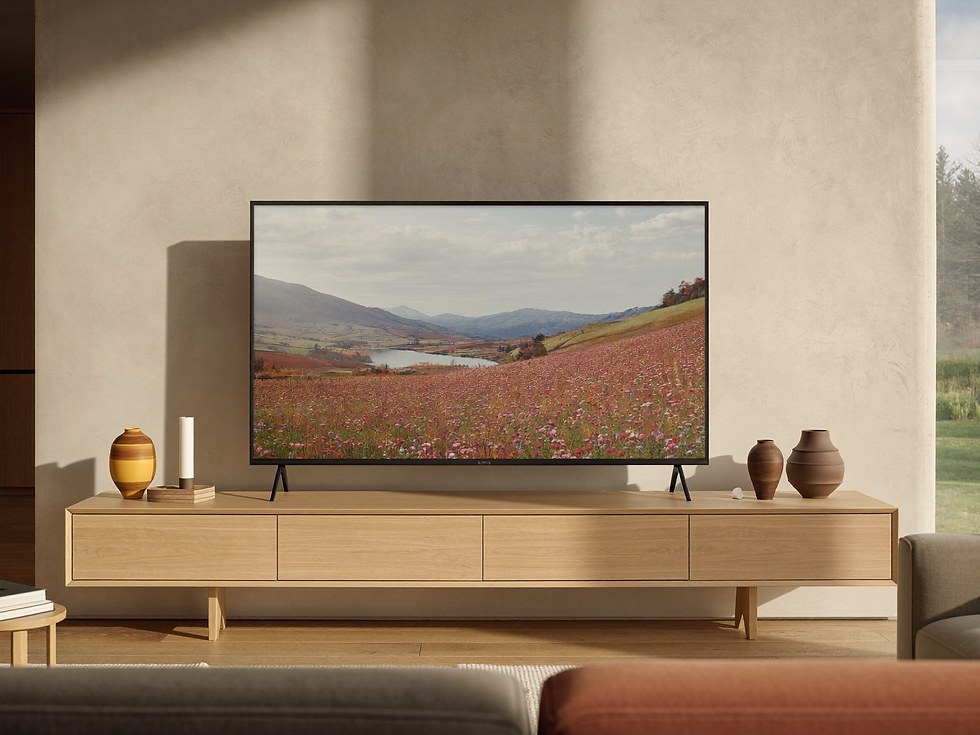
Digital art can also appear on a television or digital frame when the file is compatible. Many TVs are 16:9, so portrait or traditional print ratios may show margins or require cropping. Check the device’s file-format and resolution requirements, then follow its photo or art-display instructions. Lower the brightness for a room-friendly effect. Static-image guidance and burn-in risk vary by model, so follow the manufacturer’s recommendations.
7. Your Final Printing Checklist
Before placing the order, pause for a two-minute check:
Confirm that you purchased a digital file rather than a physical print.
Read the listing’s included file types, ratios, sizes, and usage terms.
Download the original file; do not print a screenshot.
Match the file ratio to the print or frame ratio.
Preview any crop and protect important details.
Confirm the pixel dimensions are suitable for your chosen print size.
Choose a paper finish that suits the artwork and the room’s light.
Turn off automatic “fit to page” scaling unless you intend to use it.
Print a proof when color, crop, or scale is uncertain.
Measure the frame opening and mat before ordering the final print.
Make decisions in the right order: file, ratio, size, printer, paper, and frame. For more practical help, explore the Digital Print Art Guide.
A well-matched ratio, suitable paper, and a frame that belongs in the room will do more than an elaborate setup built on guesswork.
When you’re ready to choose a piece, explore the Havenest collection of downloadable wall art on Etsy.
Words and visual direction by Havenest.


Comments