300 DPI vs. 150 DPI: What Actually Matters When Printing Digital Art?
You download an artwork, choose a frame, and then the print service asks for “300 DPI.” The file on your computer says 150. Does that mean the art will look blurry?
Maybe, but that number alone cannot answer the question. The useful test is how many actual pixels the file has, how large you plan to print it, and how closely people will view the finished piece. A small print held in your hands asks more of a file than a large canvas seen from across the room.
Here is how to make that judgment without guessing.

In this guide
1. PPI, DPI, and the number that matters
People often say “DPI” when they mean the resolution of an image file. Technically, PPI means pixels per inch: how many image pixels are assigned to each inch of the finished print. DPI means dots per inch: the tiny marks a printer can place on paper. A printer can use several ink dots to reproduce one image pixel, so its DPI setting is not the same as your file’s PPI. Adobe explains the distinction in its guide to printer resolution.
If your printing website says “upload at 300 DPI,” it usually wants an image with enough pixels to print at roughly 300 PPI at the ordered size. Ask the service if its specification is unclear. For a buyer, the first useful numbers are the file’s pixel width and height. A 3,000 × 4,500 pixel file has a fixed amount of image data whether its properties panel says 72, 150, or 300 PPI. The print size determines how densely those pixels are spread.

2. Calculate resolution at your chosen print size
The calculation is simple: pixels ÷ print inches = effective PPI. Do it for both width and height. A 3,000 × 4,500 pixel artwork printed at 10 × 15 inches gives 300 PPI in each direction. Print the same file at 20 × 30 inches, and it gives 150 PPI. The file did not change; the pixels now cover four times as much area.
Here are four useful size checks. For 8 × 12 inches, 300 PPI requires 2,400 × 3,600 pixels; 150 PPI requires 1,200 × 1,800. For 16 × 24 inches, the figures are 4,800 × 7,200 and 2,400 × 3,600. For 24 × 36 inches, they are 7,200 × 10,800 and 3,600 × 5,400. For 40 × 60 inches, they are 12,000 × 18,000 and 6,000 × 9,000.
These are calculations, not blanket promises that every print at the lower number will look equally good. They assume the artwork and paper have the same proportions. Cropping changes which pixels remain. If you are unsure which downloaded file matches your frame, start with our digital wall art guide before calculating.
3. When 300 PPI is the right target
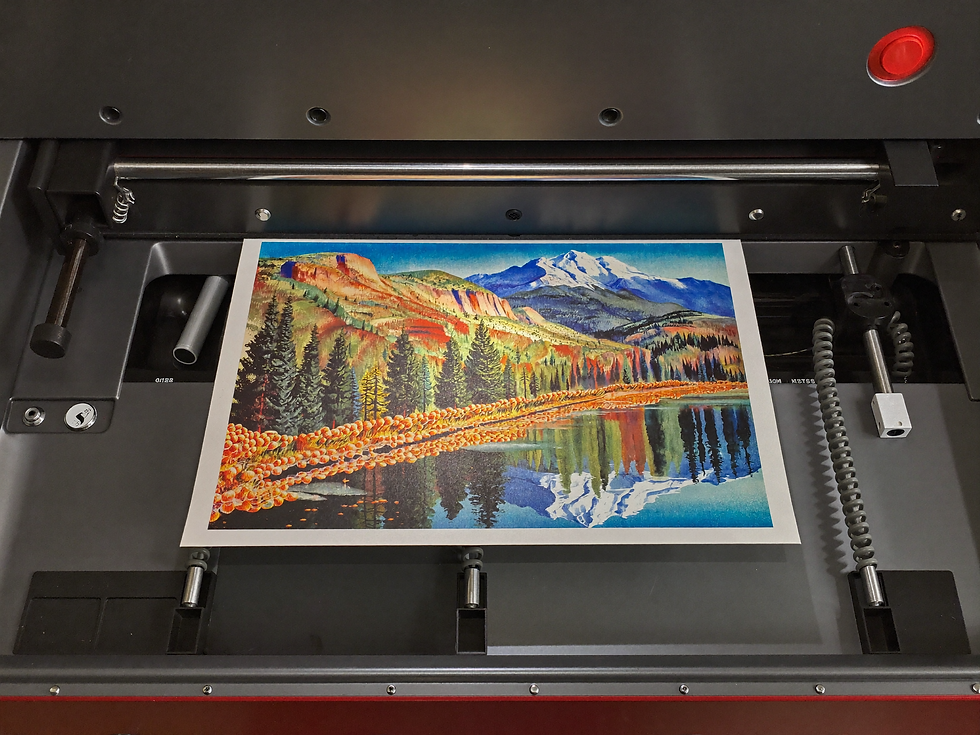
For a small or medium print that people may examine up close, 300 PPI is a sensible target. Fine facial features, delicate botanical lines, tiny architectural details, and crisp graphic edges are more demanding than a painting made of broad, soft shapes. Adobe describes 300 PPI as a high-quality default for print work and notes that around 220 PPI is often enough for high-quality inkjet photos; the printer’s own specification still matters. See Adobe’s printed image resolution guidance.
That makes 300 a useful target, not a magic threshold where everything below it suddenly fails. A detailed 8 × 10 print you see from a desk deserves a more conservative standard than a large landscape above a sofa. If the artwork contains lettering or very fine line art, ask the printer for its recommended file specification; those elements may reveal softness earlier than a painterly image.

4. When 150 PPI may work
At 150 PPI, an image has half as many pixels along each printed inch as it does at 300 PPI. You may see less fine detail when you stand close. Yet a larger piece viewed from across a room can still look pleasing, especially if its visual effect depends on color, shape, and brushwork rather than tiny sharp features.
The decision depends on the original artwork, viewing distance, print surface, and the printer’s process. A lightly textured paper or canvas may suit broad painterly marks; it cannot manufacture missing facial detail. Treat 150 PPI as a size-specific possibility to test, never as guaranteed quality. Some print services require a higher minimum regardless of viewing distance, so check their upload requirements before you order. If you are deciding between finishes, our paper guide explains how surface changes the final appearance.

5. Why changing the DPI box does not create detail
Imagine that your file contains 3,000 × 4,500 pixels. You can change its resolution field from 150 to 300 PPI without adding pixels. The software will simply show a smaller print size: 10 × 15 inches instead of 20 × 30 inches. If you force the same 20 × 30 inch size at 300 PPI, the software must invent new pixels through resampling. That can smooth or approximate the image, but it does not recover detail that was never in the original. Adobe explains this distinction in its image size and resampling guide.
An upscaler may sometimes make a file more usable, but judge its result by visible details, not the larger pixel count alone. Look closely at faces, hands, fine edges, and repeated textures for strange shapes or over-sharpening. Keep the original file untouched. For a fuller troubleshooting path, see our guide to why digital wall art looks blurry when printed.
6. Make a test print before going large
A screen preview helps you find obvious problems, but it cannot tell you exactly how the chosen printer, ink, and paper will render the art. Before paying for a 24 × 36 or 40 × 60 inch print, ask the shop to print a small crop at the final scale. Do not shrink the whole picture to fit a sample sheet; that raises its effective PPI and hides the question you are trying to answer.
Choose a crop with an important focal point and fine detail. If the artwork is a portrait, include the eyes. For a landscape, include both a crisp edge and a softer area. View the proof from the distance at which the piece will usually be seen, then move closer. Decide whether the detail, color, and paper surface feel right for your room. If the proof looks too soft, choose a smaller print, a higher-resolution source, or a different piece rather than relying on a metadata change.

7. A simple decision before you order
Start with the original downloaded file, not a screenshot or social-media preview. Read its pixel dimensions. Choose the exact print size and a file with the matching aspect ratio. Divide each pixel dimension by its matching print dimension in inches. Aim near 300 PPI when the art will be viewed closely or contains fine detail. For a larger piece seen farther away, a lower effective PPI may be acceptable if your printer agrees and a full-scale crop passes your eye test.
Then choose the frame and paper for the actual dimensions, not for the size you hoped the file would support. Our framing guide helps you leave room for a mat without accidentally cropping the composition.
A good print begins with a size the file can honestly support. Once those measurements agree, the artwork can take its place on the wall without the resolution number becoming a mystery.
Ready to choose a piece? Explore Havenest’s printable wall art on Etsy, check the included file dimensions and ratios in the listing, and ask your printer about your intended size before ordering a large print. Havenest artworks are digital downloads; printing and framing are arranged separately.
Sources and further reading
By Havenest Editorial Team.


Comments