How to Frame Digital Wall Art Without Cropping the Artwork
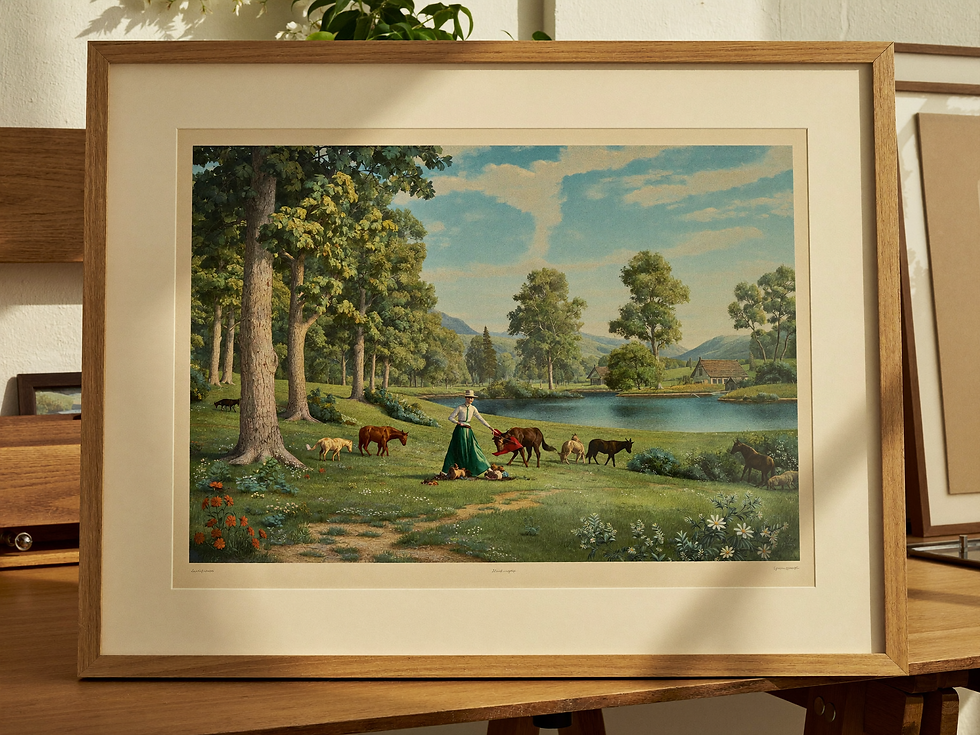
You loved the small tree at the edge of the landscape. Then you put the print in its frame, and the tree disappeared. The image might still be complete on the paper; a mat or frame lip may simply be hiding part of it.
Keeping the whole composition visible starts before framing. Match the artwork's proportions, distinguish the image from its sheet, and confirm the actual opening through which you will see it. A few measurements can save both the tree and a second print order.
In this guide
1. Name the dimensions before buying
“An 11 × 14 print” can mean an image measuring 11 × 14 inches or an 11 × 14-inch sheet containing a smaller image. Those are different framing projects. Write down which measurement you mean whenever you order a print, mat or frame.
Keep these boundaries separate:
Artwork ratio — The relationship between image width and height
Printed image area — The dimensions occupied by the artwork
Paper size — The complete sheet, including any blank border
Mat opening — The actual cut window revealing the print
Frame fitting size — The space intended to accept the framing package
Frame sight opening — What remains visible inside the frame lip
Outer frame size — The complete object's footprint on your wall
Frame labels do not necessarily state every dimension. Check the seller's measuring instructions and ask what the listed size means. A frame that accepts a particular sheet can still cover a narrow strip around its perimeter.
If you already own the frame, measure the fitting space and visible opening separately. If you are planning the wall first, use our guide to choosing the right print size, remembering that the mat and moulding increase the finished footprint.

2. Preserve the artwork's proportions
Before choosing a frame, confirm the artwork's aspect ratio. A portrait 8 × 12-inch image has a 2:3 ratio. A portrait 8 × 10-inch opening has a 4:5 ratio. Filling the second shape with the first image requires cropping or another change to the image.
To keep the whole composition, scale proportionally and accept unused space where necessary. Fitting that 2:3 image inside an 8 × 10-inch area makes it approximately 6.67 × 10 inches, leaving space beside it. Stretching it to 8 × 10 would change the proportions of everything depicted.
Our aspect-ratio guide for wall art explains the common size families. If your download includes several ratios, inspect the versions: one may already use a different crop. Choose the composition you want to preserve, rather than assuming every file shows identical edges.
For a landscape, reverse width and height consistently. A 12 × 8-inch image needs a landscape arrangement. The arithmetic is simple, but writing dimensions in the same order throughout the print and framing instructions prevents an expensive misunderstanding.
3. Choose the framing approach
An exact-size frame is straightforward when its fitting dimensions suit the sheet. It does not promise edge-to-edge visibility: the lip that retains the framing package may cover the print's perimeter. If critical details reach the sheet edge, confirm the sight opening before ordering.
A larger frame with a mat lets a smaller image occupy a more generous presentation. The mat's outer dimensions fit the frame; its window determines what you see. A standard frame with a custom mat can therefore accommodate artwork whose proportions do not match the frame's overall shape.
A printed border creates blank space around the artwork on the same sheet. It can provide room for overlap without hiding the composition. It does not provide the physical depth of a mat or spacer, so consider the framing assembly separately.
Custom framing is useful when existing sizes cannot preserve the composition or when you want the paper's own edges visible. A float presentation can display those edges rather than covering them with a window mat. Metropolitan Picture Framing describes this use of float presentations. Ask the framer to specify the mounting and glazing clearance; floating a paper print is different from choosing a floater frame for stretched canvas.

4. Allow for the mat and frame overlap
A mat sold “for an 8 × 10 print” may have an opening smaller than 8 × 10 inches. Frame Destination's published example uses a 7¾ × 9¾-inch opening, overlapping the artwork by ⅛ inch on each side. That is the supplier's specification, not a universal rule for every mat.
If your image reaches the edge of its 8 × 10 sheet, that overlap conceals image content. To preserve every detail, print the image with additional paper around it and arrange the mat to overlap the blank paper instead. Specify the exact window dimensions and the amount of white paper you want visible.
For example, place an 8 × 12-inch image centrally on an 11 × 14-inch sheet. An actual 8¼ × 12¼-inch mat window would reveal the full image plus ⅛ inch of white paper around each edge. The sheet extends beyond that window for mounting. This is a geometric example to confirm with your framer, not a default cutting instruction.
Ask whether the order field expects artwork size or actual opening size, and whether the supplier subtracts an overlap automatically. Keep a signature or delicate edge detail comfortably inside the confirmed visible area, allowing for cutting and positioning tolerances.

5. Print a border deliberately
Decide whether adding a border should enlarge the sheet or reduce the image within a fixed sheet. If an 8 × 10-inch image needs a half-inch blank border on every side, the sheet must measure 9 × 11 inches. Adding the border inside an 8 × 10 sheet produces a smaller image instead.
Request the final image dimensions, final sheet dimensions and border widths explicitly. Some services describe their border options differently. Check the preview and written specification rather than assuming “add border” leaves the image size unchanged.
Also examine the print setting. Epson explains that borderless printing can enlarge the image, cropping the portion beyond the paper. That can remove content before the print ever enters a frame. Ask the service how it preserves the complete file, or use a supported bordered layout.
Do not trim away the blank margin until the framing plan is settled. It may be the space that lets the mat overlap paper while keeping the image visible. Our home versus professional printing guide explains what to confirm with either route.
6. Assemble with space and support
Preserving the composition also means supporting the print properly. The Library of Congress's matting and framing guidance recommends keeping works on paper from touching the glazing, using a sufficiently thick window mat or appropriate spacers. A blank printed border alone cannot create that separation.
The same guidance emphasizes stable framing materials and suitable mounting methods. Ask about matboard, backing and how the print will be secured. For a print you want to preserve, discuss non-adhesive supports or an appropriate reversible method with a knowledgeable framer rather than attaching household tape directly to the sheet.

Check that the frame is deep enough for the glazing, mat or spacers, print and backing together. Do not force a thicker package into a shallow frame. A mat window is also not a complete mounting system: the sheet needs suitable support so it does not slip out of position.
Paper choice affects the presentation and handling. If you have not selected it, read our comparison of matte, glossy and fine art paper. For valuable or unusually delicate paper, have a framer assess the actual sheet before deciding how to mount it.

7. Check the finished plan before ordering
Create a short specification containing the file version, orientation, image dimensions, sheet dimensions, mat's actual opening and outer size, and the frame's fitting and sight dimensions. Add the intended white reveal and identify any detail that must remain visible. This gives a printer and framer the same target.
Review the service preview at all four edges. If it shows a crop, change the print size, choose a proportional fit, add blank paper or request a different mat opening. Do not assume the frame will restore material already removed during printing.
When the print arrives, check its measurements before assembly. Lay out the proposed window without rubbing the image surface, and confirm that its position preserves the details you marked. If you are unsure, ask the framer to show the intended reveal before securing the package.
The best framing choice is the one that gives the complete composition room to be seen. Explore Havenest's downloadable wall art on Etsy, check the listing's available file ratios and sizes, then plan the print and frame together. Let the border do the accommodating so the artwork can keep its edges.

Sources and review basis
Desk research of manufacturer, framing-service and Library of Congress documentation, reviewed October 4, 2026. Sources are linked beside their relevant claims. No physical framing test was performed. Numerical layouts are illustrative calculations; confirm actual product dimensions and tolerances before ordering.
Written by Emma for Havenest.


Comments