What Is an Aspect Ratio—and Why Does It Matter When Printing Wall Art?
You choose a painting because of the way it feels: the quiet sky above a cottage, a hand resting beside a bowl, a path that disappears beyond the trees. Then the print arrives, and part of that feeling has vanished. The colors may be right. The paper may be beautiful. But the frame has swallowed the sky.
Often, the problem is aspect ratio. Before deciding how large to print, decide which shape will preserve the artwork. A few simple checks can prevent cropped edges, stretched figures and a print that never quite fits.

In this guide
1. Aspect ratio describes shape, not size
An image's aspect ratio is the relationship between its width and height. A portrait image that measures 8 inches wide and 12 inches high has an 8:12 ratio, simplified to 2:3. Double both measurements to 16 × 24 inches and the shape stays the same. The picture becomes larger without becoming wider or narrower in proportion.
Think of a window opening onto a landscape. Enlarging the same-shaped window lets you see the composition at a larger scale. Changing the window's shape changes which parts can fit inside it. That is why an 8 × 12 print does not automatically become an 8 × 10 print just because both begin with the number eight.
Orientation matters. Throughout this guide, dimensions and ratios are written width first, then height. A portrait 2:3 image becomes a landscape 3:2 image when rotated. Some download folders use the shorter-side-to-longer-side label for both orientations, so inspect the actual image and file dimensions instead of relying on the folder name alone.
The practical question is straightforward: do the artwork and the intended image area have the same proportions? If they do, proportional resizing can preserve the whole composition. If they do not, something must change.

2. Match your print size to its ratio family
You do not need to memorize every frame size. Keep a small reference chart, then match your intended print to the appropriate file. These examples describe portrait image dimensions in inches; reverse the measurements for landscape artwork. They show geometric compatibility, not a promise that a particular download includes every size or has enough resolution for every enlargement.
Portrait ratio | Compatible image sizes in inches |
|---|---|
2:3 | 4 × 6; 8 × 12; 12 × 18; 16 × 24; 20 × 30 |
3:4 | 6 × 8; 9 × 12; 12 × 16; 18 × 24 |
4:5 | 8 × 10; 12 × 15; 16 × 20; 24 × 30 |
5:7 | 5 × 7; 10 × 14; 20 × 28 |
11:14 | 11 × 14; 22 × 28 |
For example, 18 × 24 inches belongs to 3:4 because dividing both measurements by six gives three and four. Meanwhile, 16 × 20 inches belongs to 4:5. Those two frames may look similar across a shop aisle, but they ask different things of the artwork.
Be careful with near matches. An 11 × 14 print is not exactly 4:5. A 5 × 7 print is not exactly an A-series sheet. A small mismatch may remove only a sliver, but that sliver could contain a signature, the edge of a vase or a deliberate margin of empty space.
Choose the file for the actual image dimensions you intend to print. If several ratio versions are supplied, compare their compositions before ordering; preparing a different shape can involve a crop or another compositional adjustment.
3. Understand the choice: crop, fit or stretch
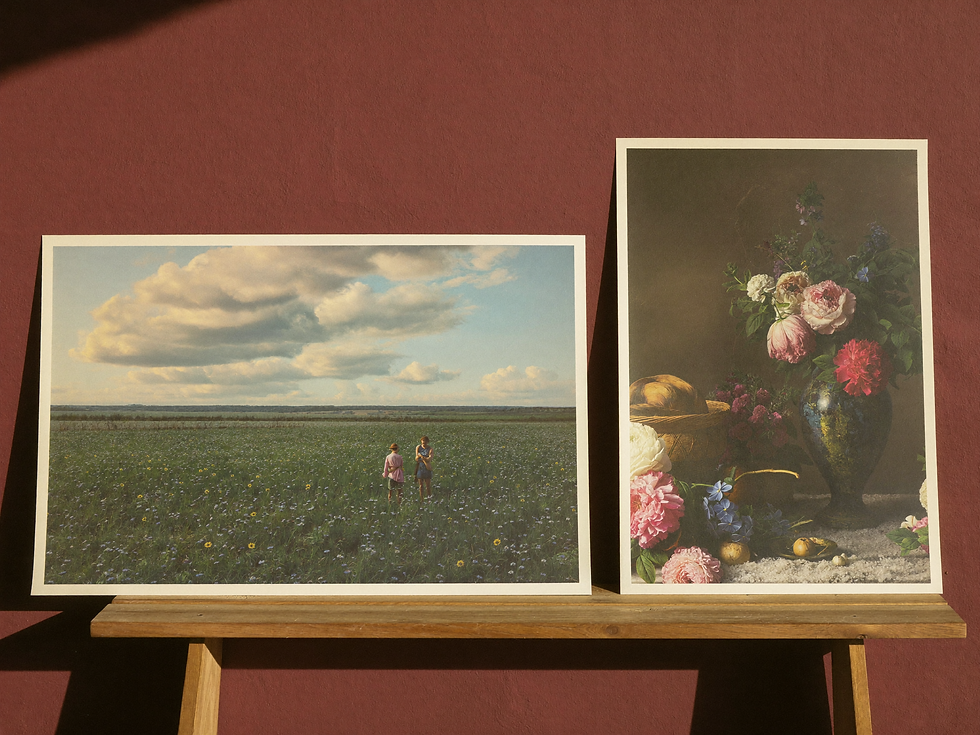
Suppose your portrait artwork is 12 × 18 inches in proportion, and you want it inside a 16 × 20-inch image area. There are three different results, and the print preview should make clear which one you are ordering.
Fill the area: enlarging the artwork to 16 × 24 inches fills the width, but four inches of its height extend beyond the 20-inch area. A centered crop removes two inches from the top and two from the bottom at that print scale. Moving the crop can protect one edge, but it cannot preserve both within those dimensions.
Fit the complete image: scaling the artwork to 20 inches high makes it approximately 13.33 inches wide. On a 16 × 20-inch sheet, that leaves about 1.33 inches of blank space on each side when centered. The composition survives, but the image does not fill the paper.
Stretch to fit: changing the width and height independently forces the whole image into 16 × 20 inches. Shapes distort; a face, doorway or circle can become visibly wider. Preserve proportions instead. Adobe's resizing guidance identifies the aspect-ratio constraint as the control that keeps those proportions linked.
For an artwork whose edges matter, fitting the whole image is often the better starting point. If you prefer a crop, choose it deliberately and review every edge before paying for the print.

4. Treat A-series paper as its own family
A4, A3 and A2 are familiar paper sizes, but they are not interchangeable with the inch-based families above. A-series paper uses proportions approximately equal to 1:√2, or 1:1.414 in portrait orientation. Published sheet dimensions are rounded to millimeters. A4 measures 210 × 297 mm; A3 measures 297 × 420 mm.
The closeness to 5:7 can be misleading. A 5:7 image is a little wider relative to its height than A-series paper. At 297 mm high, a proportional 5:7 image is approximately 212.14 mm wide, slightly wider than A4's 210 mm. Filling the sheet therefore requires a small crop; fitting the whole image produces a small amount of unused space instead.
If your printer uses A-series paper, look for a specifically prepared A-series file or ask for the full image to be fitted proportionally. Check the preview and the printer's printable area. Paper dimensions describe the sheet; they do not guarantee that a particular printer can place ink right to every edge.
5. Separate image size, paper size and frame size
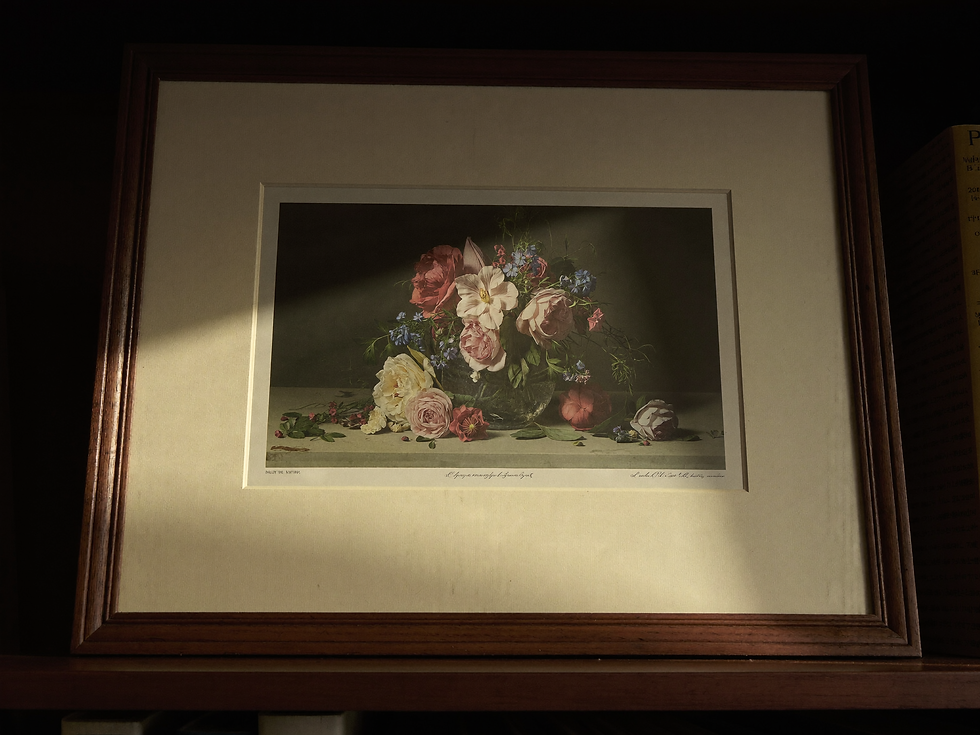
A framed artwork has several boundaries: the image itself, the paper carrying it, the visible opening in the mat, and the outside of the frame. Confusion begins when all four are called the print size. Write down each measurement separately before ordering.
A larger frame can hold a smaller image beautifully when a mat gives it breathing room. For instance, a 12 × 18-inch image can sit within a larger frame rather than being stretched to occupy its full interior. The mat's outer dimensions suit the frame; its window is cut to display the image, with an appropriate overlap or mounting arrangement agreed with the framer.
That overlap matters. A mat or frame lip can hide a narrow strip of the printed image even when the ratio is correct. If a signature or painted detail sits close to the edge, discuss a border or mounting method that preserves it. Do not assume the nominal print size equals the visible opening.
When planning the wall, measure the frame's outer dimensions as well. A generous mat and wide moulding can give a modest image substantial presence without enlarging the artwork or changing its composition.
For the next step, use our room-by-room guide to choosing a print size to test the finished frame on your wall.

6. Check resolution after you choose the shape
A correct ratio prevents a shape mismatch; it does not guarantee sharp detail. Two files can share a 2:3 ratio while containing very different amounts of image information. A small preview and a large print file may look alike on a phone, yet behave differently on paper.
Use the pixel dimensions to check your intended output. A 3600 × 5400-pixel image printed at 12 × 18 inches supplies 300 pixels per inch. The same file at 24 × 36 inches supplies 150 pixels per inch. Both preserve the 2:3 shape. The second spreads the available pixels across a larger surface.
The suitable print size also depends on viewing distance, source quality, paper and the printer's requirements. Ask the print service what it needs for your chosen size instead of treating a DPI label as a substitute for those checks. Cropping removes pixels too, so calculate resolution from the final crop.
Keep an untouched original. If you prepare a new version, save it separately with the ratio and intended size in the filename. A clear filename makes the correct choice easier when several similar previews sit in your upload window.
Read 300 DPI vs. 150 DPI for the resolution calculation, or our guide to fixing blurry art prints if the source already looks soft.

7. Give the composition one final check
Start with the artwork. Notice what makes its composition work: the space above a head, the distance between a tree and the edge, the stretch of sky that gives a landscape its calm. Decide which details must remain visible before choosing a frame or accepting an automatic crop.
Next, confirm the intended image dimensions, orientation and ratio. Select the matching file if one is available, then check its pixel dimensions at your planned print size. If the shapes differ, choose a considered crop or preserve the image with borders and a suitable mat.
Finally, inspect the print preview at all four edges. Confirm whether the service is fitting or filling the selected area. Borderless printing can introduce an additional small crop because some printers enlarge the image beyond the paper edge; Canon explicitly describes this behavior in its printing-area guidance. Ask about it when details run close to the boundary.
The aim is a print that keeps the reason you loved the artwork in the first place. Let the room determine the scale, let the composition guide the shape, and let the frame bring those two decisions together.
Explore Havenest printable art on Etsy and check the available sizes and ratios in the individual listing before choosing your frame. These are digital downloads; printing and framing are arranged separately.
References
Illustrations are AI-created editorial scenes; they illustrate framing choices rather than specific products or measured diagrams.
Written by Henry for Havenest.


Comments